We are digital inclusion experts
We specialise in promoting and developing digital inclusion through a Digital Champion approach.
Digital Champions are a proven, scalable, sustainable and cost-effective way to build digital skills & confidence.
The public sector, charities, community groups and business all have a crucial role in developing digital inclusion and skills, both in the workplace and in the community.
With more than 25 years’ experience supporting organisations across all sectors to deliver digital inclusion, we can help you with a Champion approach.

Establishing a strong partnership with a trusted delivery partner like Digital Unite, who is willing to go that extra mile to meet our high quality standards and the needs of our highly valued volunteers, has been a key factor in creating our successful Digital Champion programme.
Steph Noyce
Head of Money and Digital, Clarion Futures

Why does it matter?
We are a divided society. Nearly 20 million people have “low” or “very low” digital skills. That means nearly 40% of the adult population don’t have the skills needed to thrive in society today.
We believe that we all have a responsibility to do something about this digital divide. And that every sector has a role in tackling digital inequality.
Who do we help?
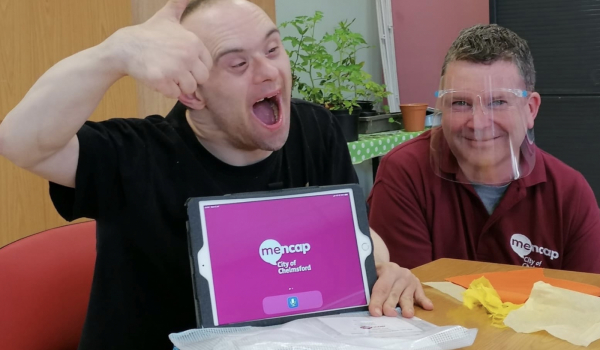
We work for clients who want to help others access digital services.
We're really proud of the range of people we work with: from small charities and social housing associations to health care providers and local authorities. We work extensively with private companies, including national telecoms companies and major financial institutions.
Some of our current clients


Featured Content
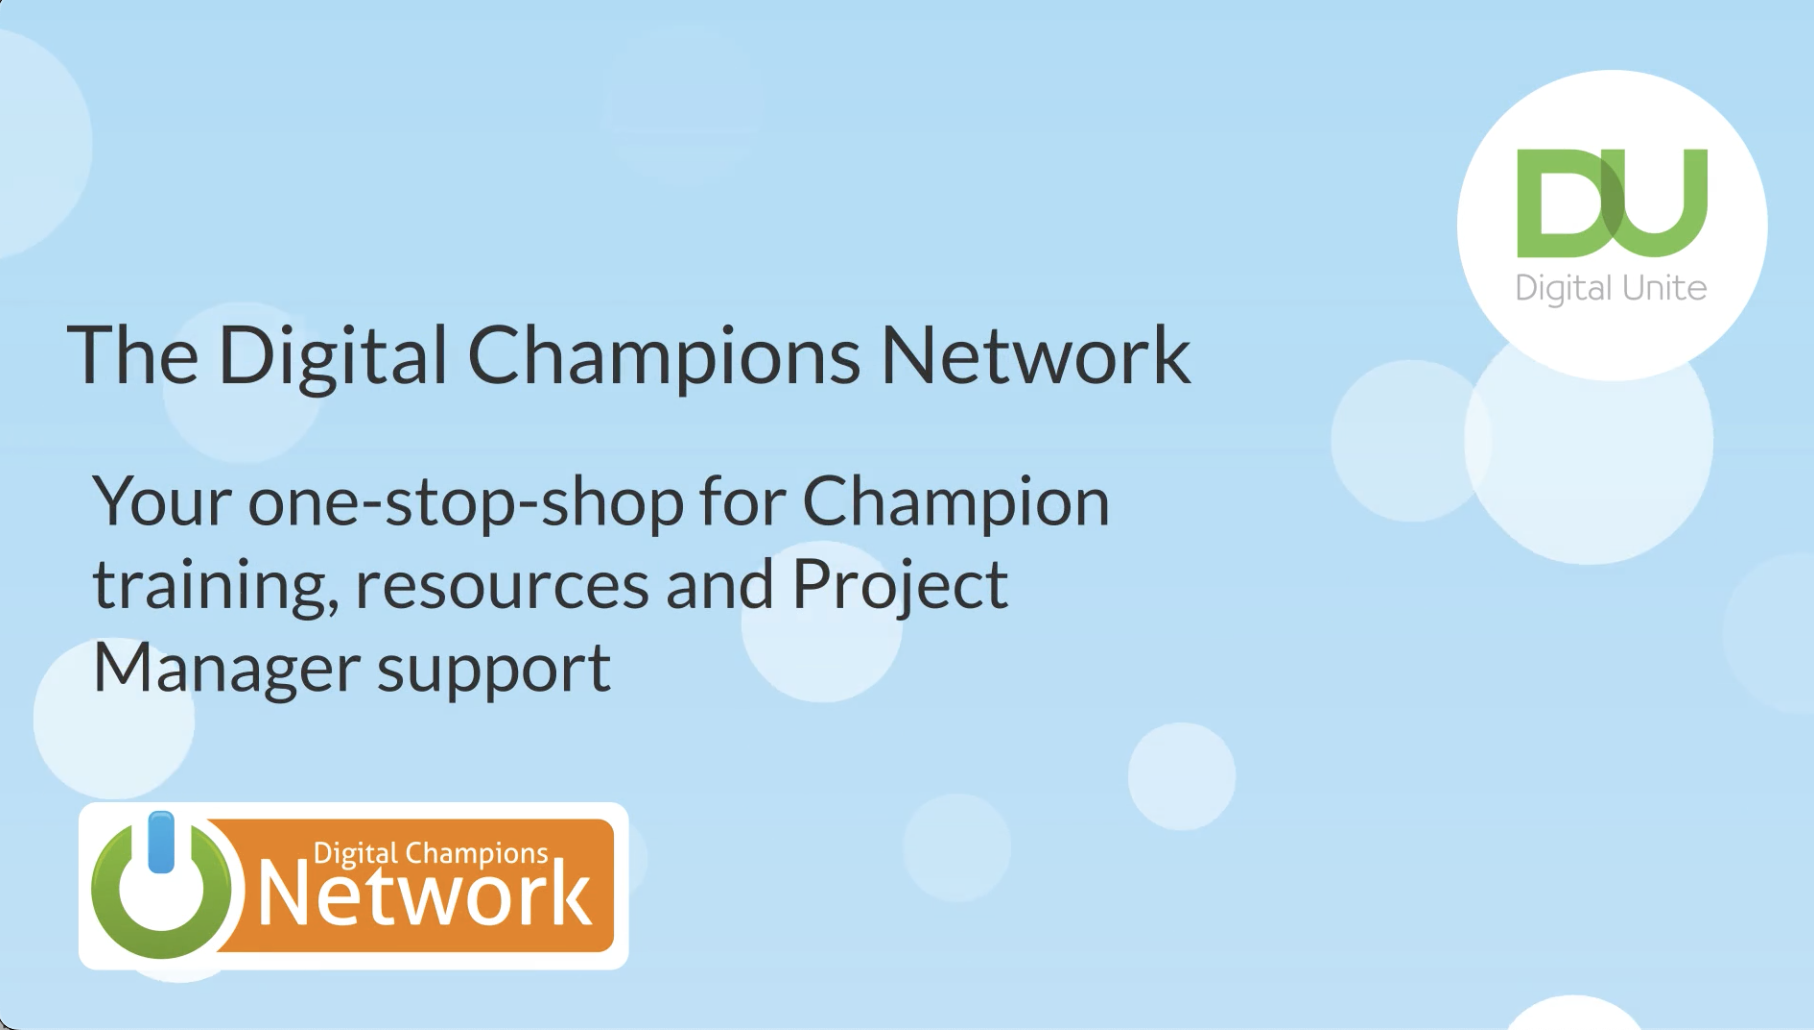
What does the Digital Champions Network look like?
We're really proud of the Network, and the huge range of learning courses, tools and resources for Champions and Project Managers it provides. But it can be hard to explain how it all fits together and how you can adapt it to support your project.
These short films give you an idea of what's possible!